
Creating custom lash boxes can be a fun and creative way to package and showcase your eyelash products. Here’s a step-by-step guide on how to make custom lash boxes:
Materials You’ll Need:
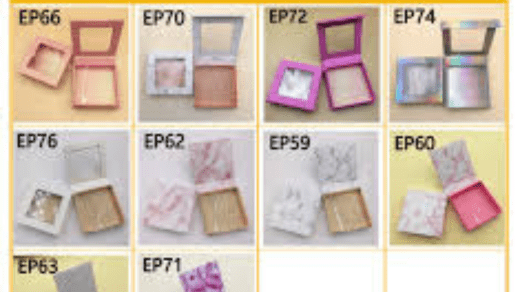
- Blank lash boxes (you can purchase these from packaging suppliers)
- Cardstock or thick paper
- Design software (e.g., Adobe Illustrator, Photoshop, or even Canva)
- Printer and ink
- Scissors or a cutting machine (e.g., Cricut)
- Glue or adhesive tape
- Decorative elements (e.g., stickers, ribbons, gems, etc.)
- Lashes or lash extensions (for placing inside the boxes)
Steps:
- Design Your Custom Box:
- Use design software to create the graphics, text, and branding for your lash boxes. You can include your brand name, logo, product information, and any other decorative elements.
- Make sure the dimensions of your design match the size of the blank lash boxes you have.
- Print Your Design:
- Print your custom box design on cardstock or thick paper using a color printer. Make sure the print quality is high, as this will impact the final look of your boxes.
- Cut Out Your Design:
- Using scissors or a cutting machine (e.g., Cricut), carefully cut out the printed design. Be precise to ensure your boxes look professional.
- Fold and Assemble the Boxes:
- Follow the crease lines on the blank lash boxes to fold them into their box shape.
- Apply glue or adhesive tape to the flaps and secure the boxes together. Make sure they’re sturdy and well-constructed.
- Insert Your Lashes:
- Place your lashes or lash extensions inside each custom box. Ensure they’re neatly arranged and centered.
- Decorate the Boxes:
- Get creative and decorate your custom lash boxes with additional elements like stickers, ribbons, gems, or anything else that aligns with your brand’s aesthetic.
- Seal the Boxes:
- If your boxes have a flap or lid, secure them shut with a sticker or piece of tape. This adds a professional touch and keeps the lashes clean and secure.
- Quality Check:
- Thoroughly inspect each custom lash box to ensure it looks professional and aligns with your brand’s image.
- Store and Display:
- Store your custom lash boxes in a clean and dry area to prevent damage or dirt.
- When displaying your lash products, consider using a well-lit and attractive display setup to catch the eye of potential customers.
- Market Your Lashes:
- Use your custom lash boxes as a marketing tool to promote your brand and products. Share high-quality photos on social media, your website, or online marketplaces.
Creating custom lash boxes allows you to add a personal and professional touch to your eyelash products. Make sure to maintain a consistent brand identity and quality in both your lashes and packaging to leave a lasting impression on your customers.